Test run!

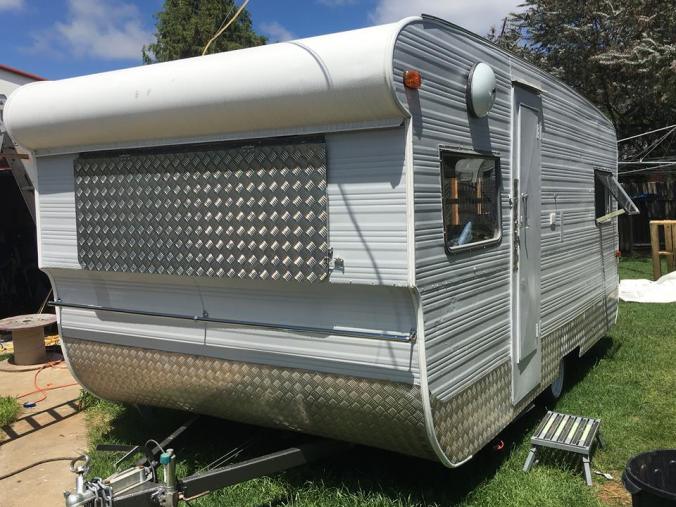
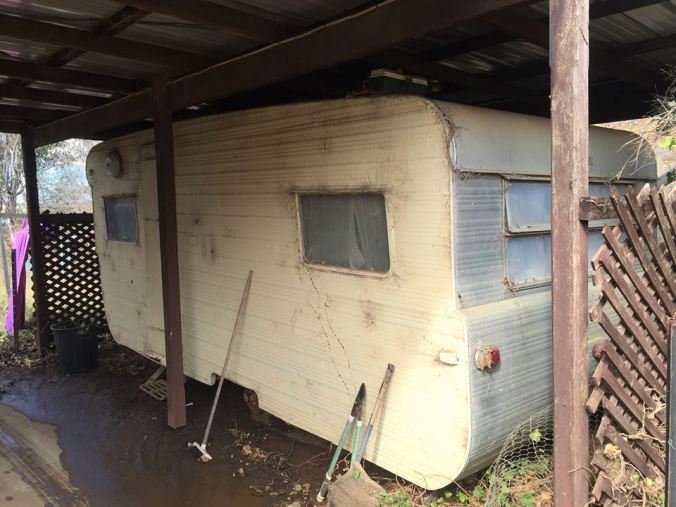
Adam had gone to a river camp nearby sometime ago and thought it would be a good place to go on our first adventure.

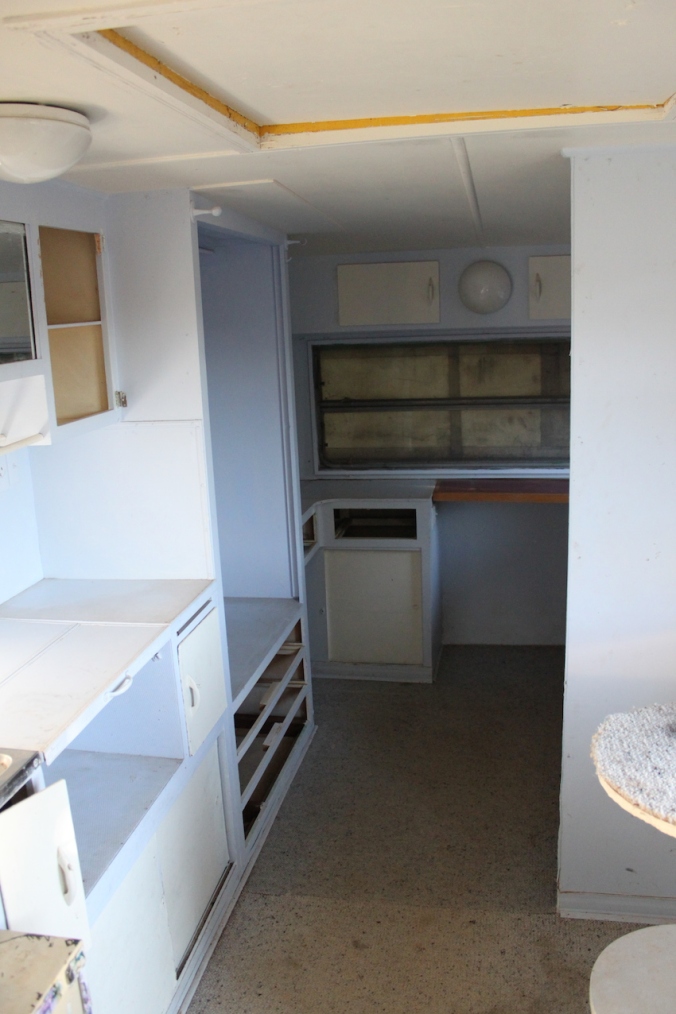
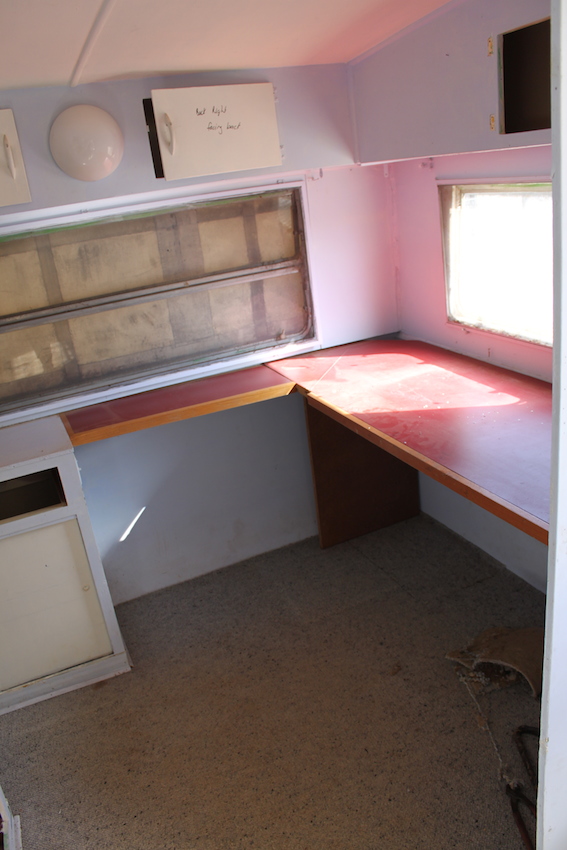
the inside of the van isn’t 100% complete but we wanted to see how we went to know what we Need to do before our first big holiday for Christmas.

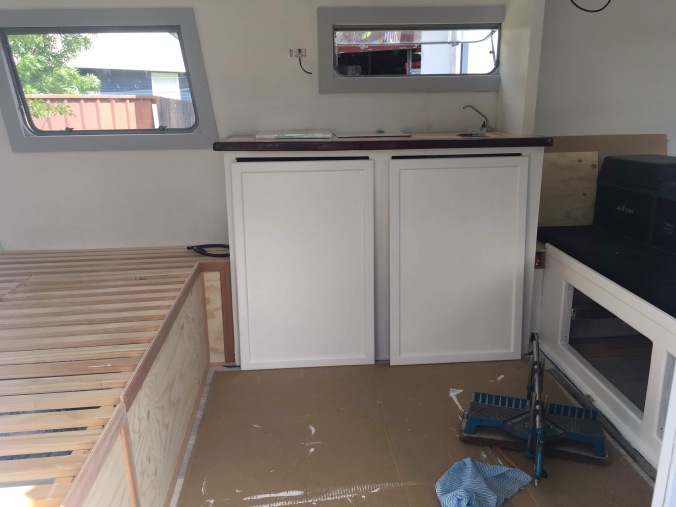
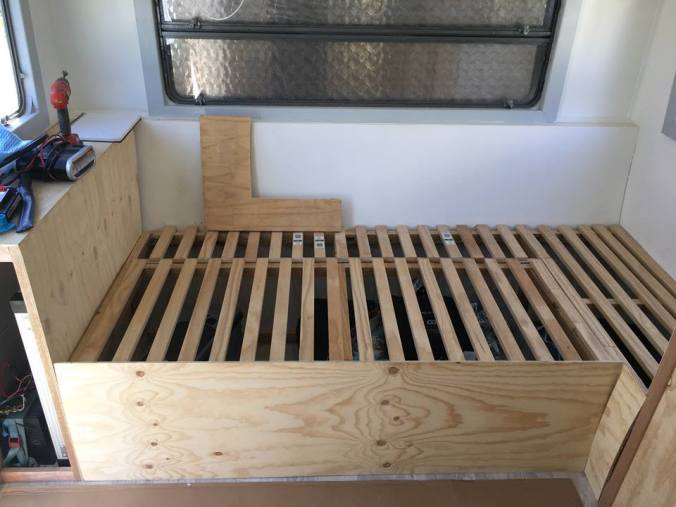
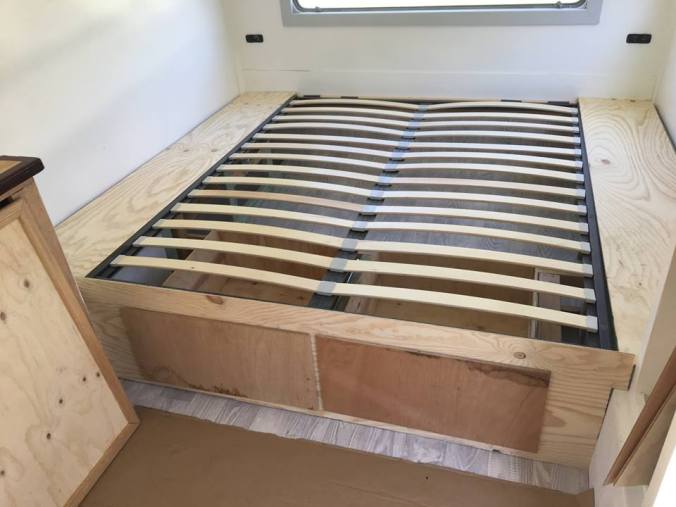
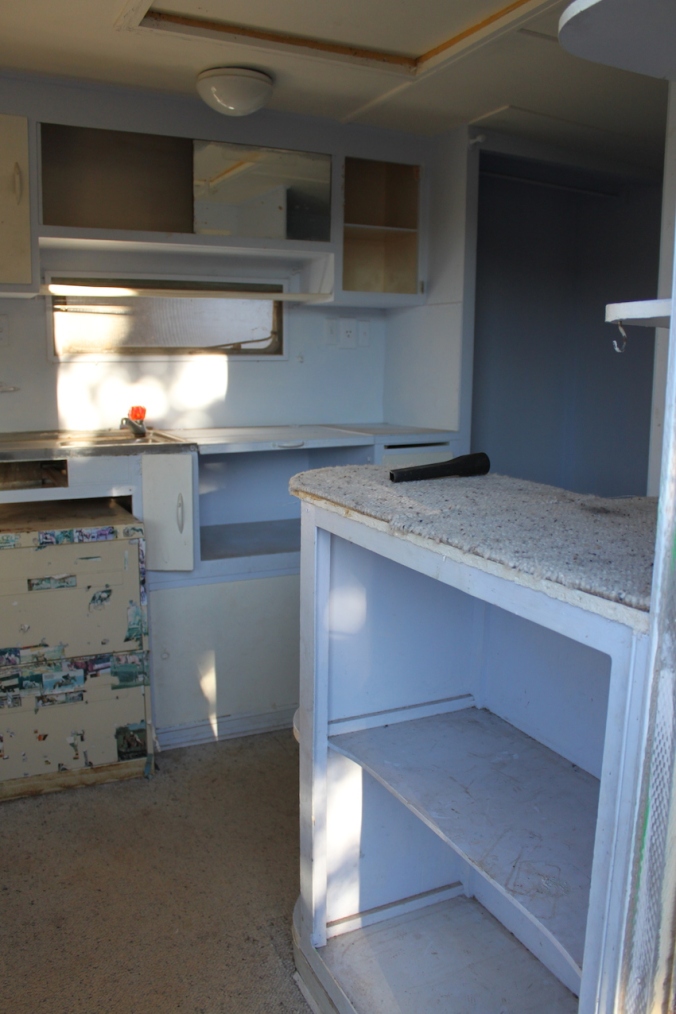
The main bits are done…. our bed. 2m long by 2.5m wide. I’m calling it out super king. With a 3yo and a 5mth old it is likely we will all end up together.

21010AC6-06F6-4B47-AF38-8DDF8AA8400B

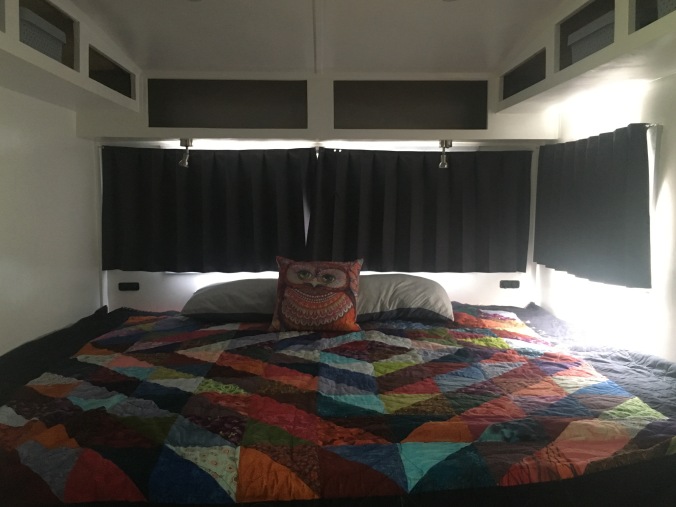
But in the off chance someone wants a bed for themselves (really it is designed for the toddler) there is a full size single bed that doubles as our lounge.

821684AA-4244-43B2-8BD0-EE902BDED071

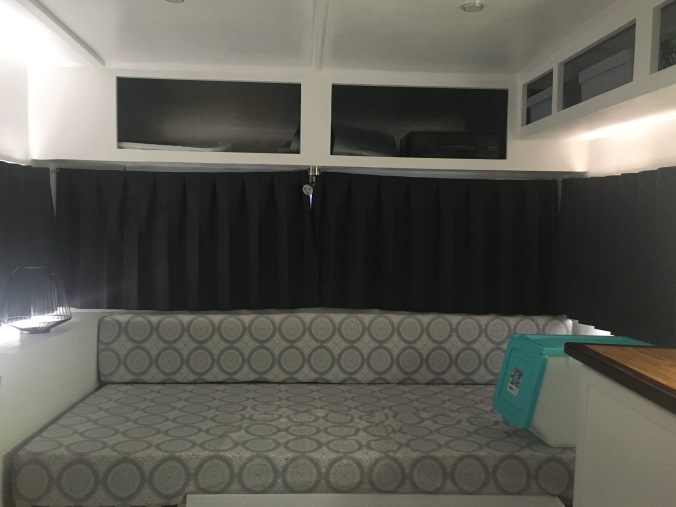
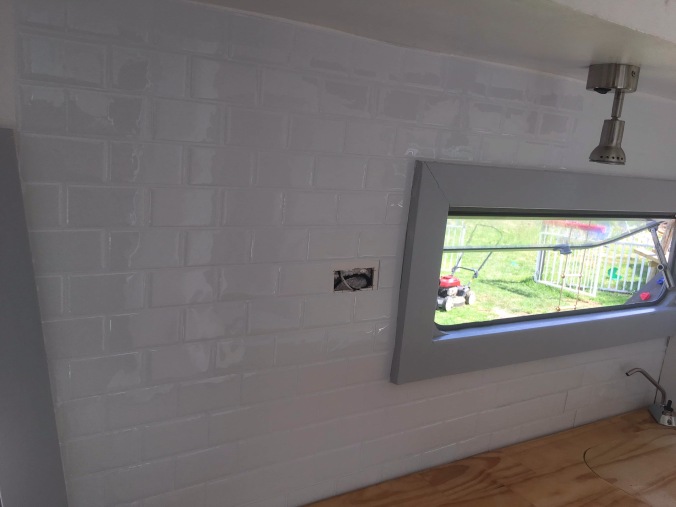
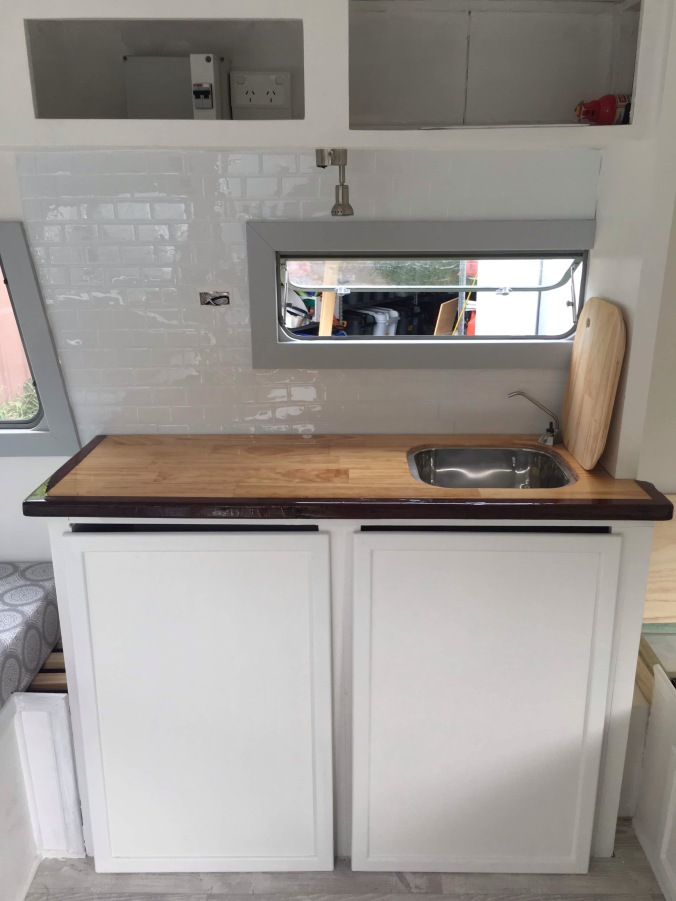
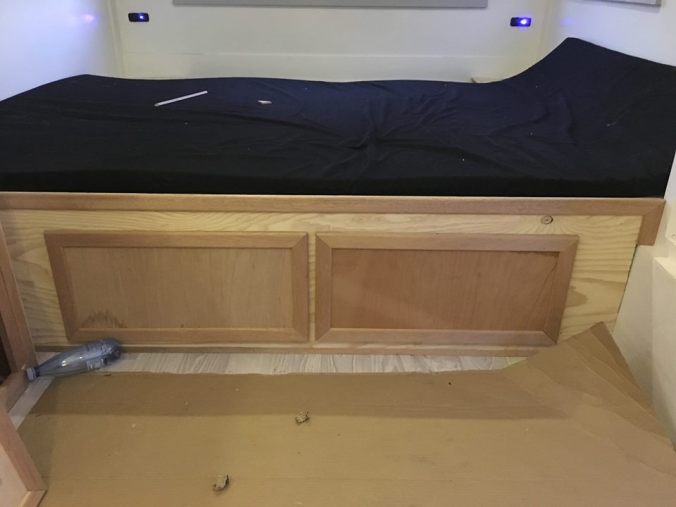
In the picture above you can see the blockout curtains open. I designed them to bu unobtrusive when closed as you can see in the image below.

DB92464C-8E35-485C-BA79-FD43F37B65A09279D1BE-AA12-4E44-8CB6-0F0DEEBA4EAF

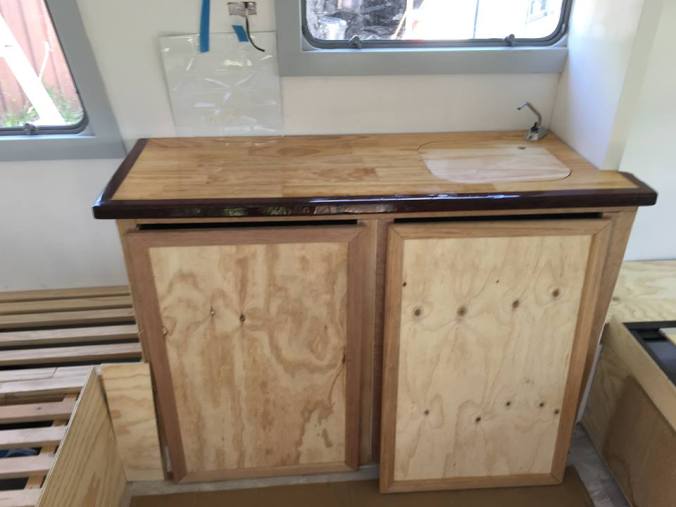
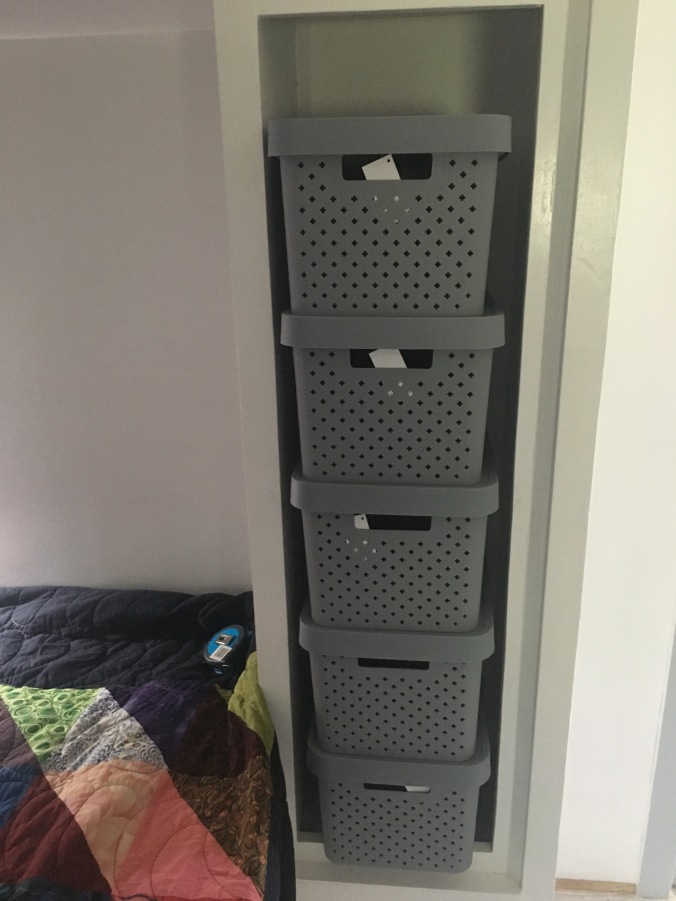
I went to Kmart and and got a bunch of plastic baskets to help with organisation. Whilst not fitted properly yet you can get the idea. In the tall cupboard below we will add shelves for each basket and spring wire with hooks and eyes to keep them in place when we travel that can be easily removed when we are living in it.

1FD7B0BA-D9ED-4630-B0C3-383E4CF7D612

So… now we have had a bit of a look inside it is time to talk about the actual adventure.

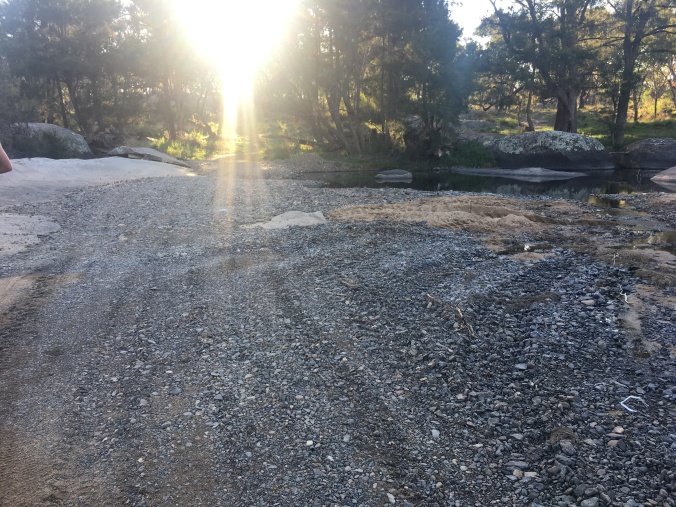
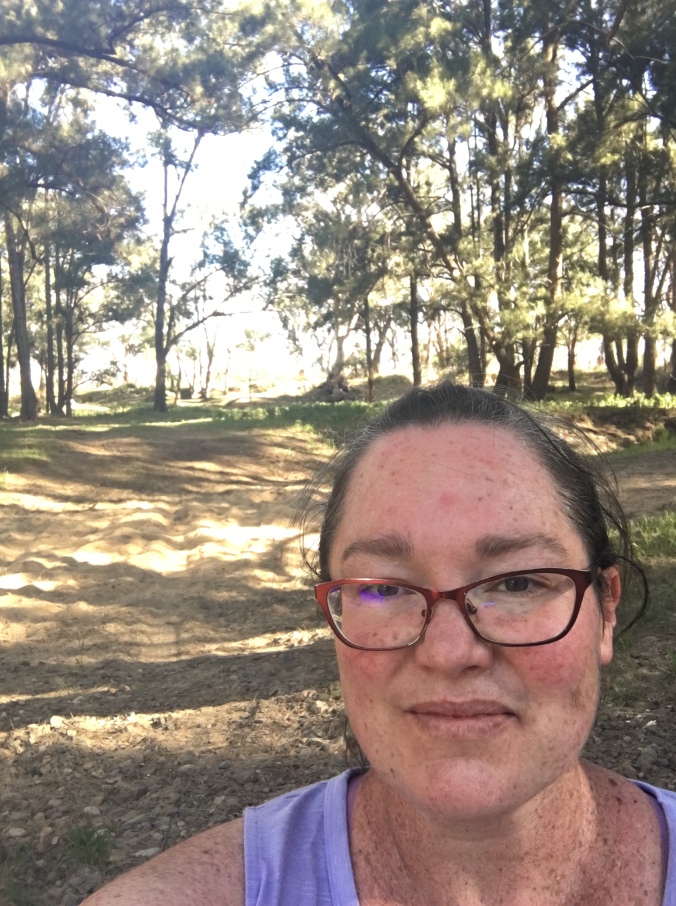
As I mentioned Adam had scoped out a spot for us to go to…. which was MAGICAL. What wasn’t was the drive in. I like to describe it as THE GRAND CANYON!

There wasnt corrigation there were cliffs and nopot holes only gully’s. I found myself gasping… so I decided it was time to sing to the kids rather than visualise the van toppling I’ve taking the Hilux with it.

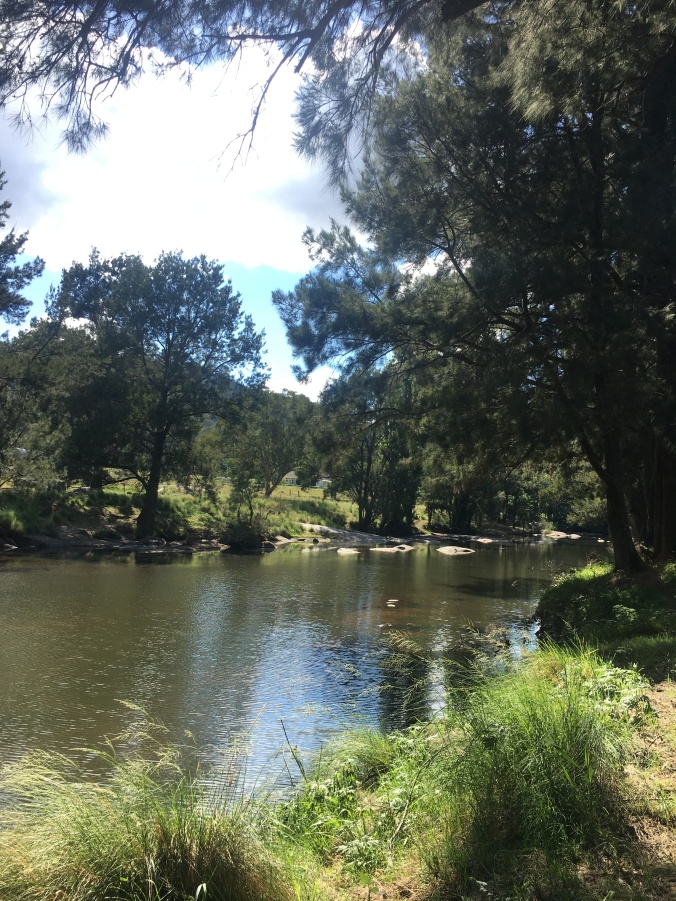
When we came to the wet river crossing I had to suggest we do a walk over first …

doesnt look too bad says Ad.

A1D62DF9-105E-41E0-9EC1-13663385ACB578C1F88E-6E5F-4827-998E-E9940DCAD551

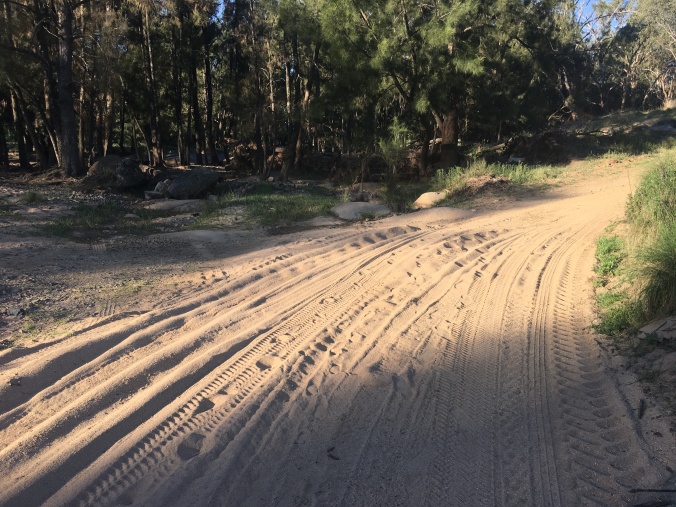
Not so bad… but remember it is our FIRST EVER trip in our van.

The thing was we could see the camp ground at this stage. And it really was magical!

EA3B4DBF-70DC-4A9A-8507-7CD0D2F28C2710419ED9-E522-4425-84F9-21ADB4EDC335260A1D4D-AE06-4496-BAF7-C1678E7B8FE2AAD981ED-D0C5-47E1-AE85-7A4F8A6CFB177E757C7A-9CD8-49F6-BA8A-4B02C29BF0E7FB250095-7E97-49E1-A270-F5FAF23CE0D4

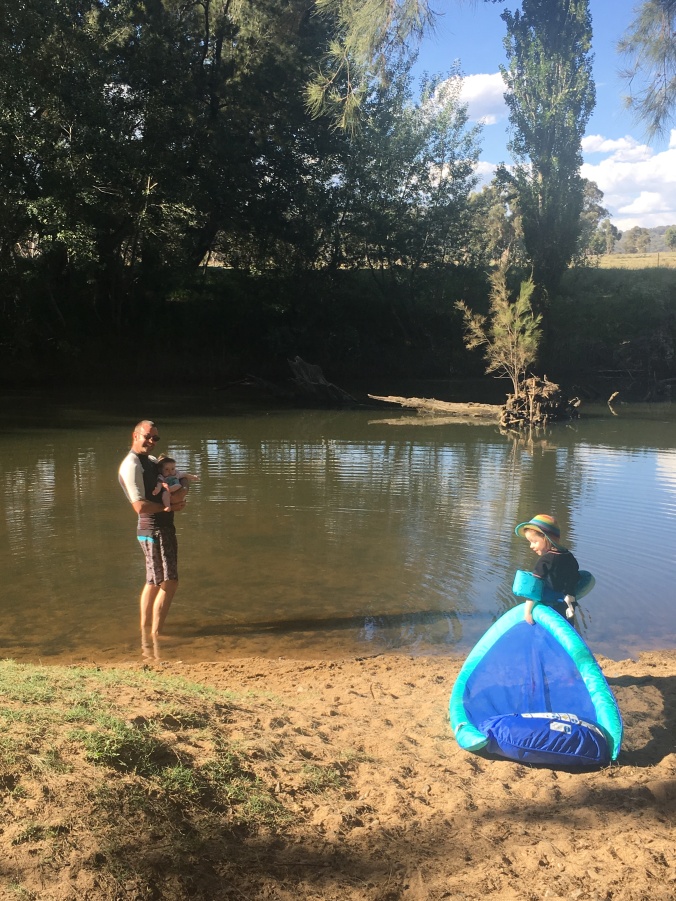
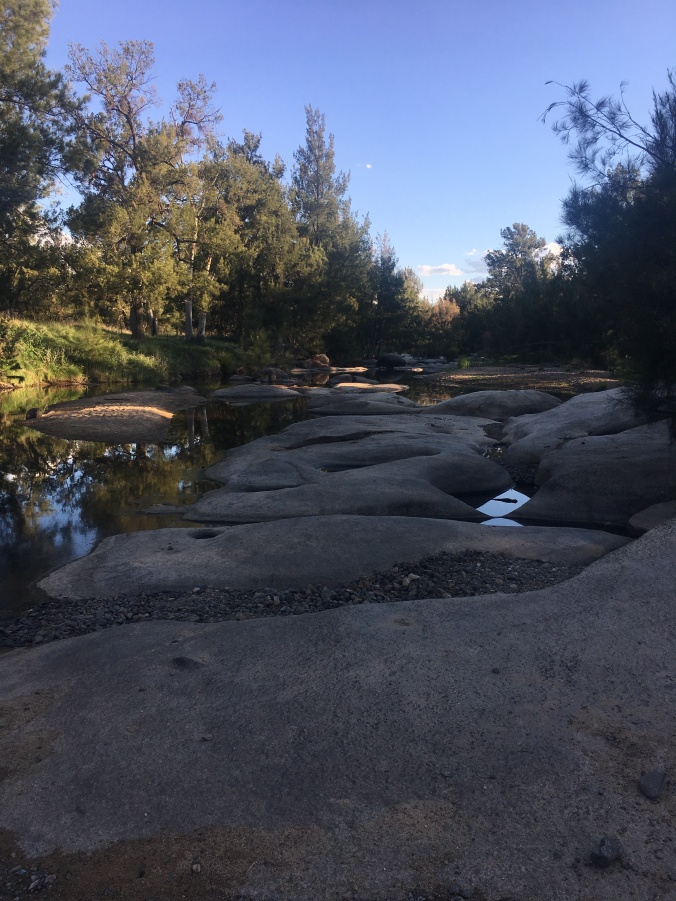
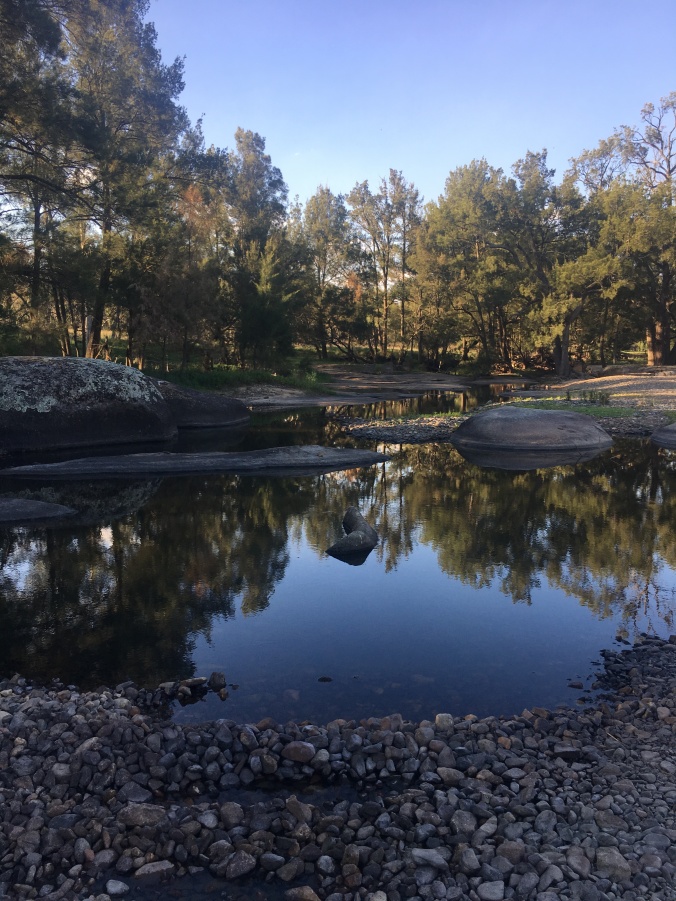
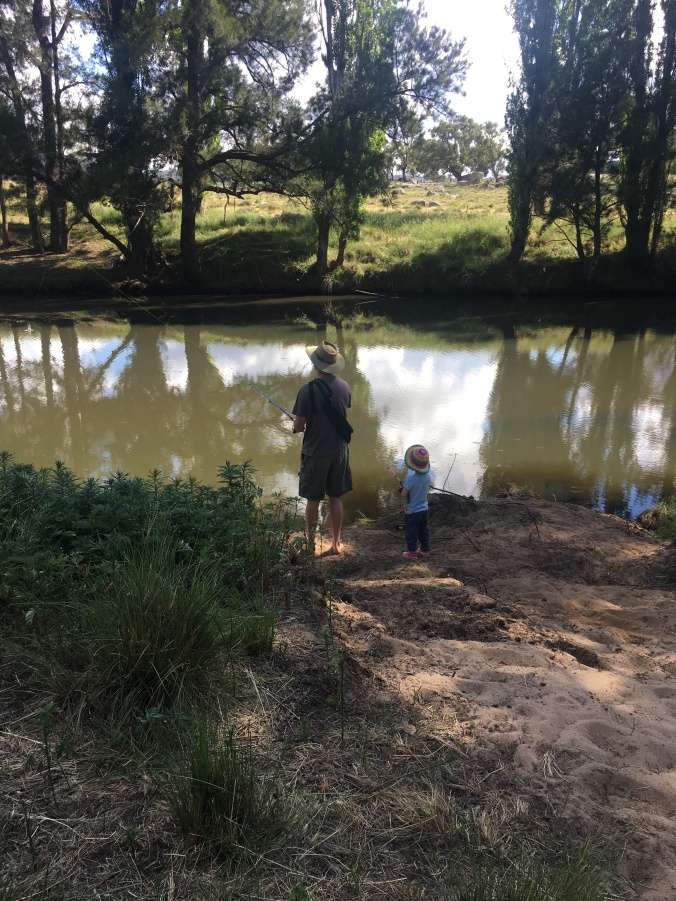
There was even a platypus frolicking in the water putting on a beautiful show.

We didn’t bother with the annex, the van had everything we needed for her first test run. The fridge was cold the bed was warm and we were all there together! We even gave the porta potty a run. Worked perfectly. I wasnt looking forward to trudging outdoors with the toddler at three am and I didn’t have to!  It was even easy to get both kids to sleep!

The very first of many fantastic adventures we hope to have in our not so Pumpkin Princess!

Till next time

S&A


More Princess than Pumpkin

It amazes me when I look back at all that has happened with this little Millard caravan.

Over the last week or so we have been adding the trims and painting… there always seems to be so much painting for such a little space! The other thing I got to do was ’tile’ the splash back.

Because of the weight of real tiles we opted for white subway tic tack tiles… they are so simple, you peel and stick. They are a sort of 3D with what looks likes a silicone filling. There’s are numerous designers of tile you can get but this is a link to the style I got. They were easy and fun to put in.

Peel and stick tiles

IMG_0173

Below you can see us Auditioning the tiles with the bench top and the raw wood doors, then the white primed doors, the tiles and eventually the current condition. We have yet to add the hinges to the doors and runners to the drawers.

kitchenIMG_0165IMG_0167

IMG_0171

It is to me, quite amazing how much I enjoy doing all things van related. It has been a wonderful project to work on together. In the time we have had this little pumpkin our family has increased by two… and all things going to plan our little family will be  enjoying a wonderful summer holiday in our little princess!

Stay tuned,

S&A

oh so close!

We have been spending more time working on our little pumpkin… turning her into a princess ready for our big holiday adventure for Christmas.

sneak peak of her transformation…………….


Hubby has worked like a boss on the van … we were missing the stone guard/window cover … Checker-plate… yes please! A perfect match for the checker-plate on the lower stone guard.

The addition of a towel rail on the front makes it that much more family friendly.

Front window shield

He then added checker-plate along the sides and curved it around the back to give the van some nice lines! And that fancy flash back window! perfect perspex.

rear van


rear door side

front door side

Potentially more exciting is what is happening inside!

To the left of the day bed we now have a cupboard that houses the batteries and the solar panels which should give us power to run our little set up for a week… well for however long the sun dictates really! We also have the undressed basic ply that will form the skin front on the day bed base..

Whilst the ‘seat’ lifts up on hinges we will be adding a door on the left side of the under bed that will hinge left and a drawer on the right. The whole unit will be framed… like the ones below.

day bed structure

ok so maybe not in this picture.

Like above the bed here lifts up and the two solid sections life up towards the sides of the van. This will in essence give us a bed that is 203cm long (standard king length) and 246cms wide – not standard… good thing I can sew a set of sheets!

As you can see we have made two drawers on the front of the bed for our frequently accessed items. I can’t imagine I’m going to want to lift the bed every time I want something from under there.

king bed side boxes

As you can see in the following image the framing starts to make things that more schmick! (not yet complete)

drawers trimmed edges

The plan is to keep working on the framing and finishing …. once the kitchen is made.. the painting will start!

Stay tuned…

S&A

oh … and just as a reminder… where she came from…


left side back endleft side18 look how far she has comekitchenettback endIMG_back right


Looking at the inside…


Since the big move (and by big move I mean from right up the back yard to close to the house) we have started to look at the interior of our princess!

I thought I might show a few progress pics so far!

what she looked like when she was given to us by the lovely Ellie.

As we started demolition.

(the opposite side – but you get the idea)

Building up and framing the window

 All framed up.

The actual window awaiting a makeover (my job for tomorrow after we go blackberry picking!

The outside of the above window

It is currently covered in plastic as we wait a summer storm.

So this is the view standing at the door looking towards the back when we first got her.


The same space less a few cupboards!

A closer image of where it is at now…

With the lights on… all 12v.

the left hand side of the back with some of the upper storage space.

Looking back towards the door – the boxes at the base squaring out the wheel arches, and a bit of storage space – and structural support.

The forward front window with the frame on. Makes such a HUGE difference. I don’t know why I doubt Adam… we just have such different ways of looking at and doing things. He really is very talented.

Fingers crossed tomorrow isn’t TOOOO hot, and we can get some more done. It is getting so close to painting I can almost smell it!

Well enough for now. Till next time

S&A