Hello readers, welcome to another instalment of turning our Pumpkin into a Princess.
Firstly a moment of silence for my dear Mac that is very unwell at the moment. I am hoping her affliction isn’t fatal, but at this stage things are uncertain – hence no post yesterday. Todays blog comes from a loaner Mac. Anyway moving on to the point of this post, Lights.
As per my previous post, one of the things that we need to have on the Princess to move her is working indicators and brake lights. I am confident these don’t work at the moment as the connector from the van to the car has been removed – best get one of those too!
Without the ability to simply plug her in to check, and a desire to move her this weekend, hubby and I are planning to Macgyver a system to get the the 10 odd kms from her current place of residence to her new home with us. So things we need to get our Macgyver on:
- bulbs in all the lights
- wire to connect sockets to the connector
- the 7pin flat connector to attach her to our truck
With my trusty screwdriver and an assortment of tips (who knows the style of screw they used in the 60’s for such jobs) I head out to the Princess to remove the light covers, check out bulb shapes and sizes and the requirements for the connectors.

Rear light cover. Looks aged and the cover is crazed but usable for the purpose of a short distance relocation. Also turns out a standard phillips head was the screw of choice. check no weird surprises there!

Inside things are not so hot. First surprise of the day – bulbs have been removed. Sigh. no just pulling the bulb heading to the shop and saying “I’ll take one of these please.” Oh well – still not that hard I guess. I can read the embossed note on the fixture telling me it is 18w. The powdery oxidation covering the fitting is something we can address later.
So as things go – there are two rear tail lights – so perhaps there is a bulb in the other.
Now I am not the worlds biggest chicken, but spiders are not my favourite thing in the world – and the size and general scariness of the spider on the other tail light tells me to work out a different way to work out the globe. Sigh. must get over this spider thing one day. (today isnt that day 😉 )
There is a light on the front right of the van, lets try there.

Spider webs but no spiders (on the outside) that I can see. Lets do this. also we have changed from phillips to flat for this one – love the handy little tip change I can do on my screwdriver – not quite a Dr Who level screwdriver, but I think its nifty. When I take the cover off this light I was pleasantly surprised, even more so given it is the side of the van that HAS been exposed to the elements.
And it has a globe in it. Win. (yes I know – it is the small things).
Now it occurs to me that I need a size reference for the tail light globes. Will they fit this globe? Unfortunately the answer here seems to be no. The side globe is a bit short for the tail light globe. Hmm. no tape measure – what ever shall i do?

My nifty screwdriver tip holder comes in handy here. the pins for the globe stretch from the base of the holder to the top of the second hole down. I should be able to work with that at the auto shop.
Feeling a bit better about things now I traverse the van looking for any other bits that need further investigation. The more ‘tidy and complete’ vans shown in the first post show that the Princess had a covers to go over her front windows – ours does not. But looks like she used to – something to look into.
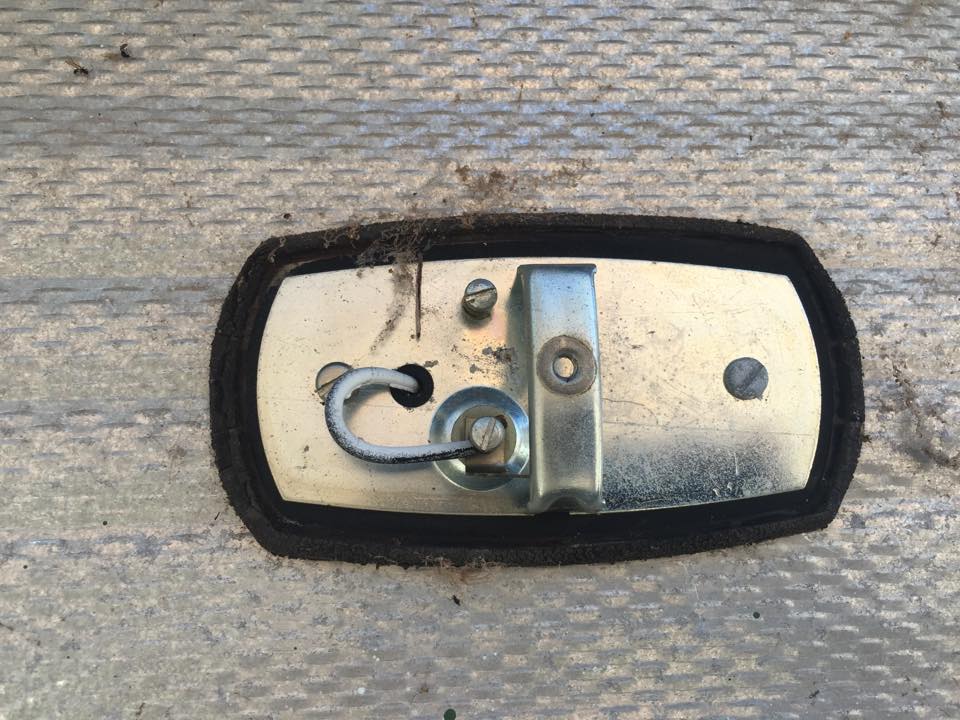
 Hinge are still there.
With a very busy rest of the day on my hands, I decide to leave it here for now. Tomorrow will be shopping for parts and applying for the permit.
Wish me luck!
